
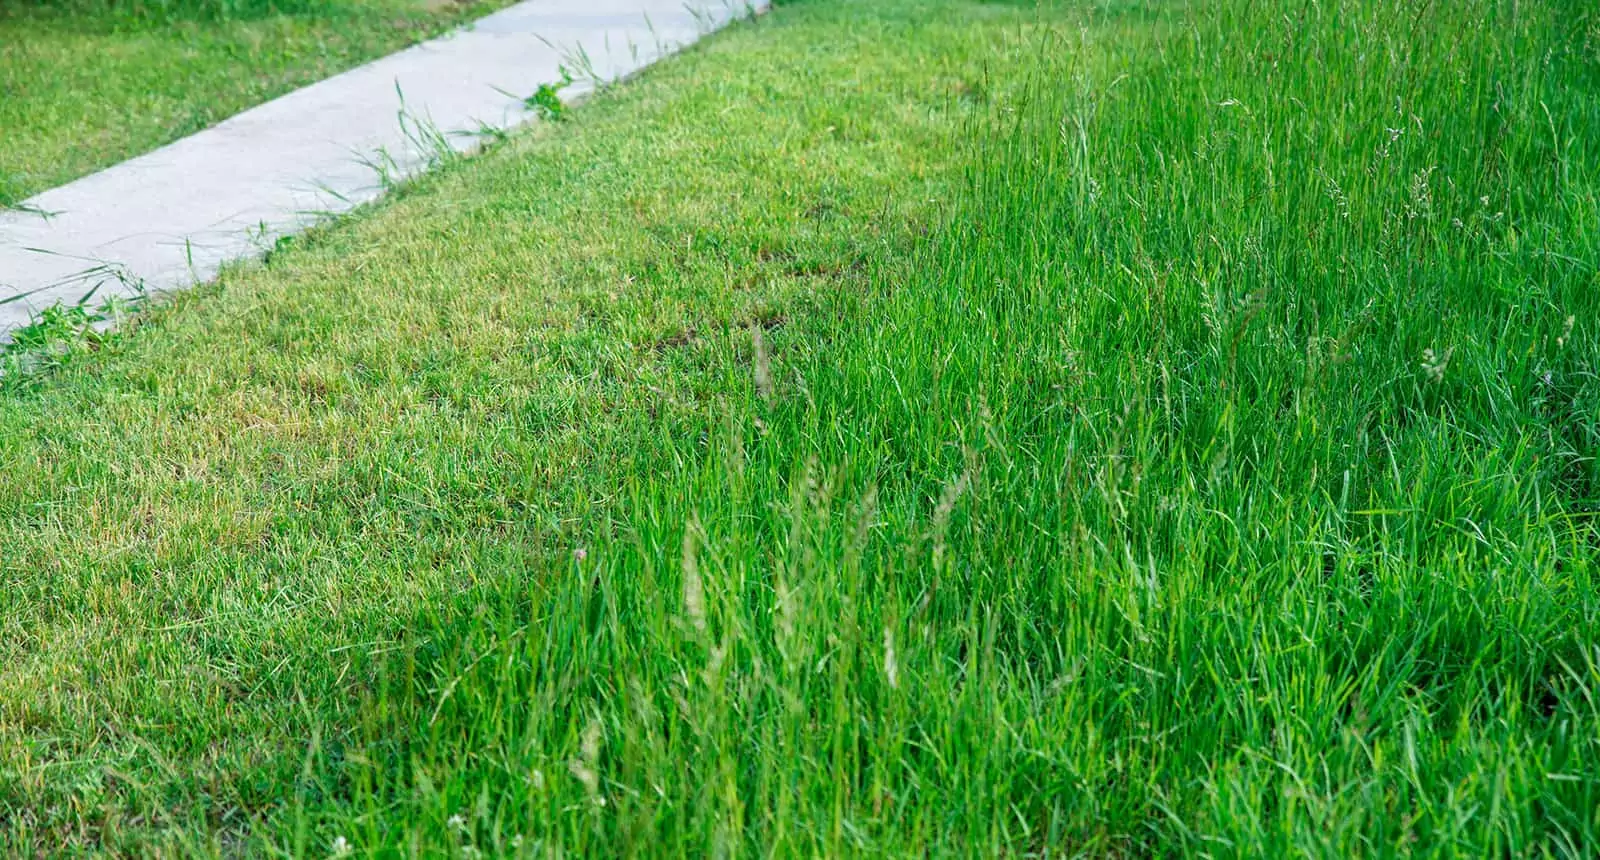
Separate your lawn and garden with mowing string to save time every time you have to mow. Have you ever spent hours mowing the lawn only to finish with weeds and grass around the edges?
In today’s article, I will help you solve this problem. All you have to do is install a mowing strip. It’s a very simple solution. That being said, let’s learn how to install a mowing strip in different ways.
What Is a Mowing Strip?
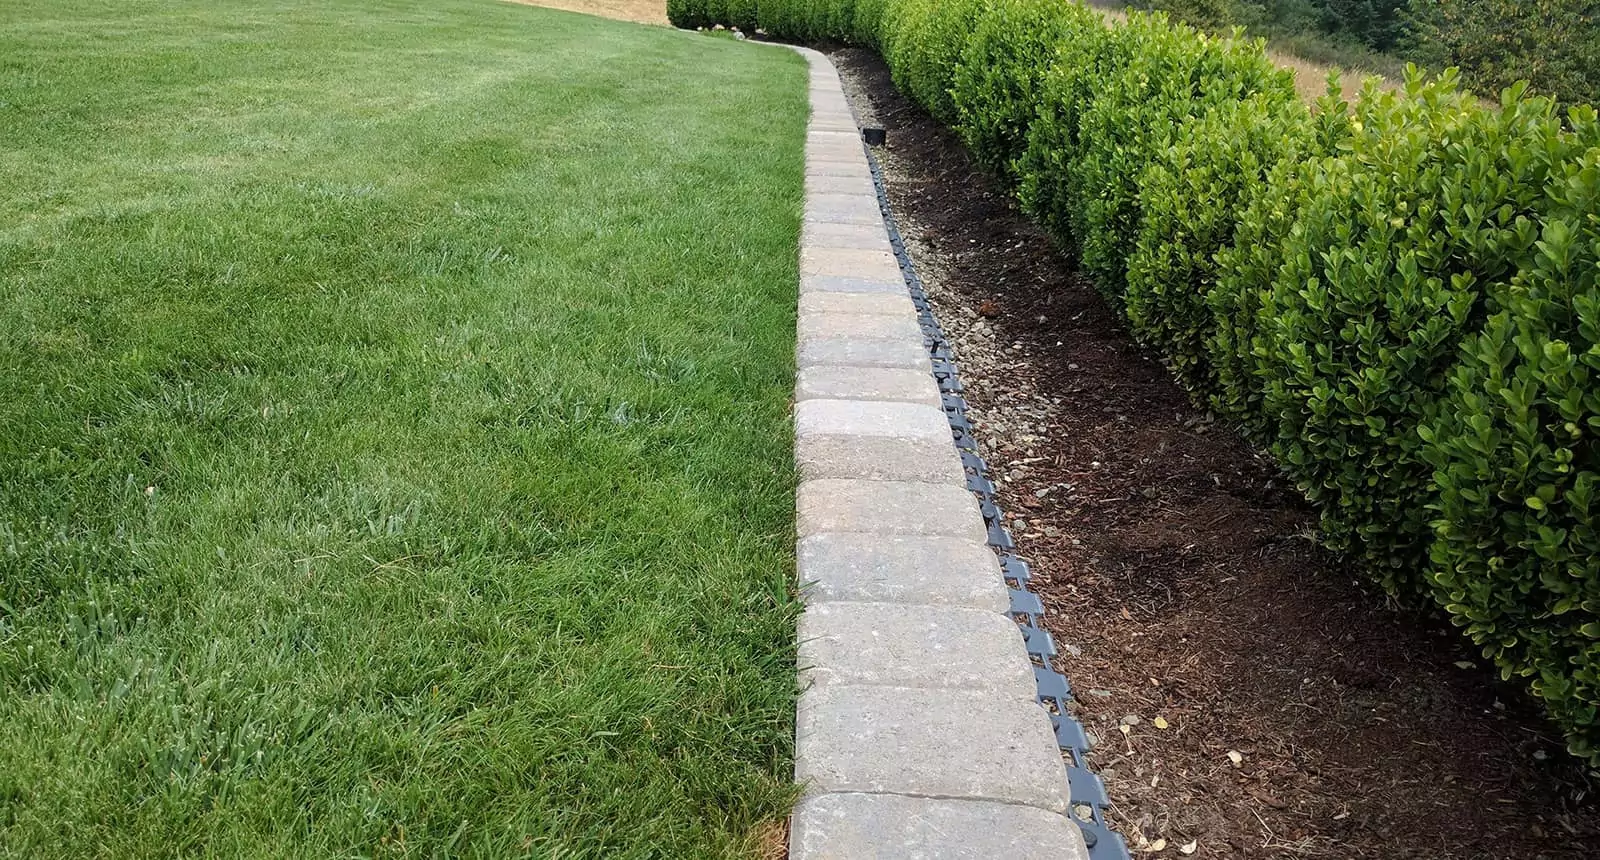
A mowing strip represents a small architectural piece that goes between the grass of lawns and another part of the yard. That could be a flower bed, raised patio, or even a larger vegetable garden.
This element can also be utilized to provide a border around your trees so that the roots of the trees will receive better water absorption from the rain. You can use cheap paving stones as a mow strip.
Or you can splurge and pour concrete through packed with smooth stones. Either way, the primary goal is a functional one. And that’s to provide a clear border where you need and don’t need to mow.
The mowing strip makes a break between ornamental grass and other elements of the exterior. Without one, you’re practically forced to either utilize a string trimmer or have sloppy, poorly cut corners.
Installing a mow strip will remove the need to utilize a weed wacker. It’s a 100% project unless the home is in restrictive HOA that forbids non-licensed professionals from altering the home’s exterior.
You can see this video to know more:
Why Add a Mowing Strip?
Besides the obvious reason why to add a mowing strip, there’s a list of other reasons you need to know. Let’s talk about this stylish barrier and how installing one can affect your landscape, in general.
-
Lower Impact Pet Digging
Some pets like dogs and rabbits can get excited when they’re allowed outside. And they often decide to spend their time digging up holes, especially rabbits. They’re active hole diggers.
Holes can cause structural problems if the support around the poles is destroyed, so applying a mowing strip is a good idea. It will prevent this problem from happening in the first place.
-
Improved Water Drainage
Metal awnings feature gutters but fabric ones, especially retractable types don’t have gutters. And when the rain rolls off the awning, it will go right down and cause pools of water in some areas.
This can later cause erosion adjacent to the patio or porch that can cause structural problems. Installing mowing strips will prevent this by leading the water away from the load-bearing supports.
-
Modern Outlook
Applying mowing strips is a great manner of adding a uniform and elegant design element to your home. You can add multiple matching mowing strips around different parts of your yard or garden.
This will make a lovely visual border when someone watches your property. Aesthetically, they will keep your property neat and tidy while solving one of the most common issues homeowners face.
-
Protects Your Garden
Not only do mowing strips give a stable surface for the wheels of self-propelled lawn-mowers. But they also stop weeds and plants such as Poison ivy from invading your property.
Mowing strips stop healthy turfgrasses from developing into garden beds. Overall, they keep your lawn or garden protected in different ways. They’re also cheap and easy to install.
You can see this video to know more:
How Does a Mowing Strip Save Time?
If you have a retaining garden or wall beside your lawn, it can be harder to mow right beside the wall or garden because the edge always interferes.
A mowing strip provides enough place to mow besides the wall while leaving no pieces of grass or weed untreated. This will save you time and cash.
How Can You Make a Mowing Strip?
A mowing strip doesn’t have to be anything too complex and extravagant. You can opt for a smaller strip of concrete around 2-4 inches wide applied along the edge of your garden.
Dig a shallow trench by the wall. Apply the concrete. Then, screed with a tiny head screed. If you don’t have a wall yet, once you built it, include some diameter in the footing to make the strip.
Now, let’s learn how to separate your lawn and garden with mowing stips utilizing concrete. If you don’t like concrete, below this section, there’s a list of other options you can use.
Step 1: Gather the Necessary Tools
A mowing strip between ornamental grass and other elements means you can easily mow your lawn without the worry of trimming afterward or hurting your plants.
The ground-level mowing strip allows the blade to cut freely. Also, making your mowing strip 12 inches broad ensures a stable path to walk on or dry surfaces while working in your garden.
Have you ever heard of rubble? It’s a mix of broken concrete chunks and irregular fieldstones that offers great materials for making a mowing strip. You can make rubble from a broken sidewalk.
Road-base gravel is another material that performs well as a platform for the mowing strip. The number of materials necessary depends on the width of the mowing strop and the length of your bed.
However, common tools for creating a mowing strip include waterproof work gloves, coarse sand, flour or powdered chalk, road-base gravel, rubble, hand broom or brush, garden hose with spray attachment, quick-setting concrete mix, common decorative items, and burlap.
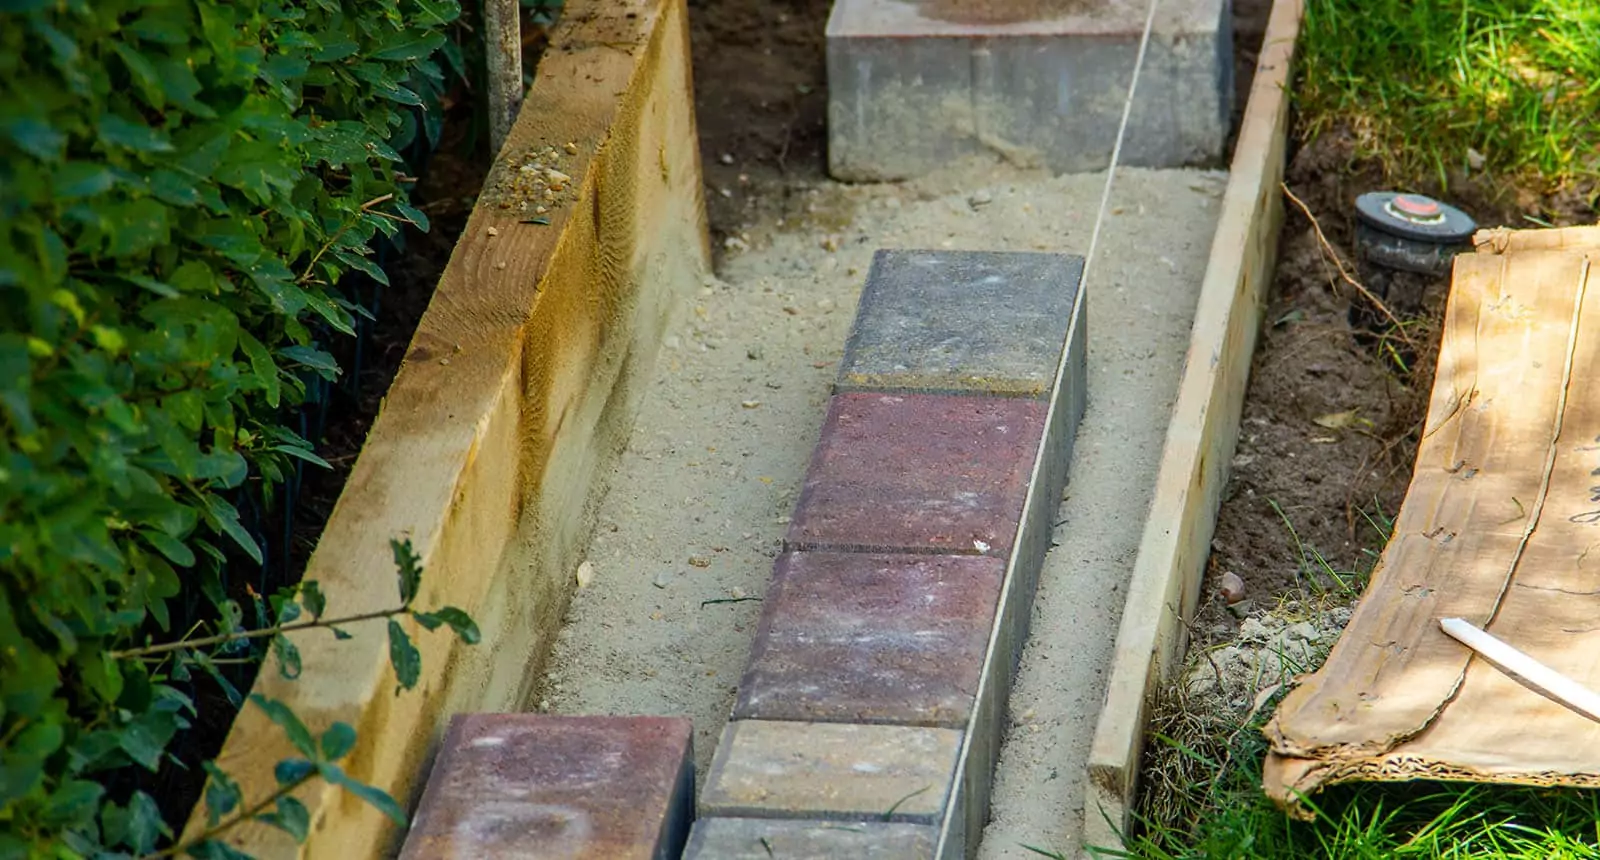
Step 2: Dig a Shallow Trench
Firstly, mark the place for your mowing strip edging by utilizing flour or powdered chalk. I highly suggest that it’s between 6-12 inches broad. Then, utilize a spade to slice through any sod and remove it, digging a 6-8-inch deep trench.
Step 3: Fill the Trench With Sand
Next, cover the base of the freshly excavated trench with a 1-2-inch deep coat of sand. Then, top it with a 1-2-inch deep coat of road-base gravel.
Step 4: Get Some Stones
Place some fieldstones or rubble at ground level with flat sides up. Apply gravel under them as required to make a level surface. Leave 1-inch wide or bigger gaps between the stones. Place gravel into the gaps until they’re filled and the place is level.
Step 5: Add Concrete Mix
Utilize a flexible scoop, such as a plastic cup to add concrete mix into the gaps. Remove any excess from the adjacent rubble.
Step 6: Damp Concrete
Grab your garden hose and apply the spray nozzle. Then, gently sprinkle the setup with water just until the surface is saturated. Apply the dry concrete mix to level any gaps and saturate again.
Step 7: Decorate
It’s time to decorate your mowing strip with some decorative items. However, since concrete sets within 15 minutes, you will need to work fast. Apply the pieces into the damp concrete. Finally, cover the setup with a burlap or plastic sheet to keep everything damp while it cures completely (2 days).
You can see this video to know more:
10 Materials You Can Use As Mowing Strips
Concrete isn’t the only material you can utilize for making mowing strips. First and foremost, if you have a garden that you’re taking care of, transfer the soil away from the border of your grass.
Utilize a spade or edger to clean up the line and reestablish your edge. If you’re making a new edge, use a spade or edging tool to cut. Then, utilize some of the following alternatives as borders.
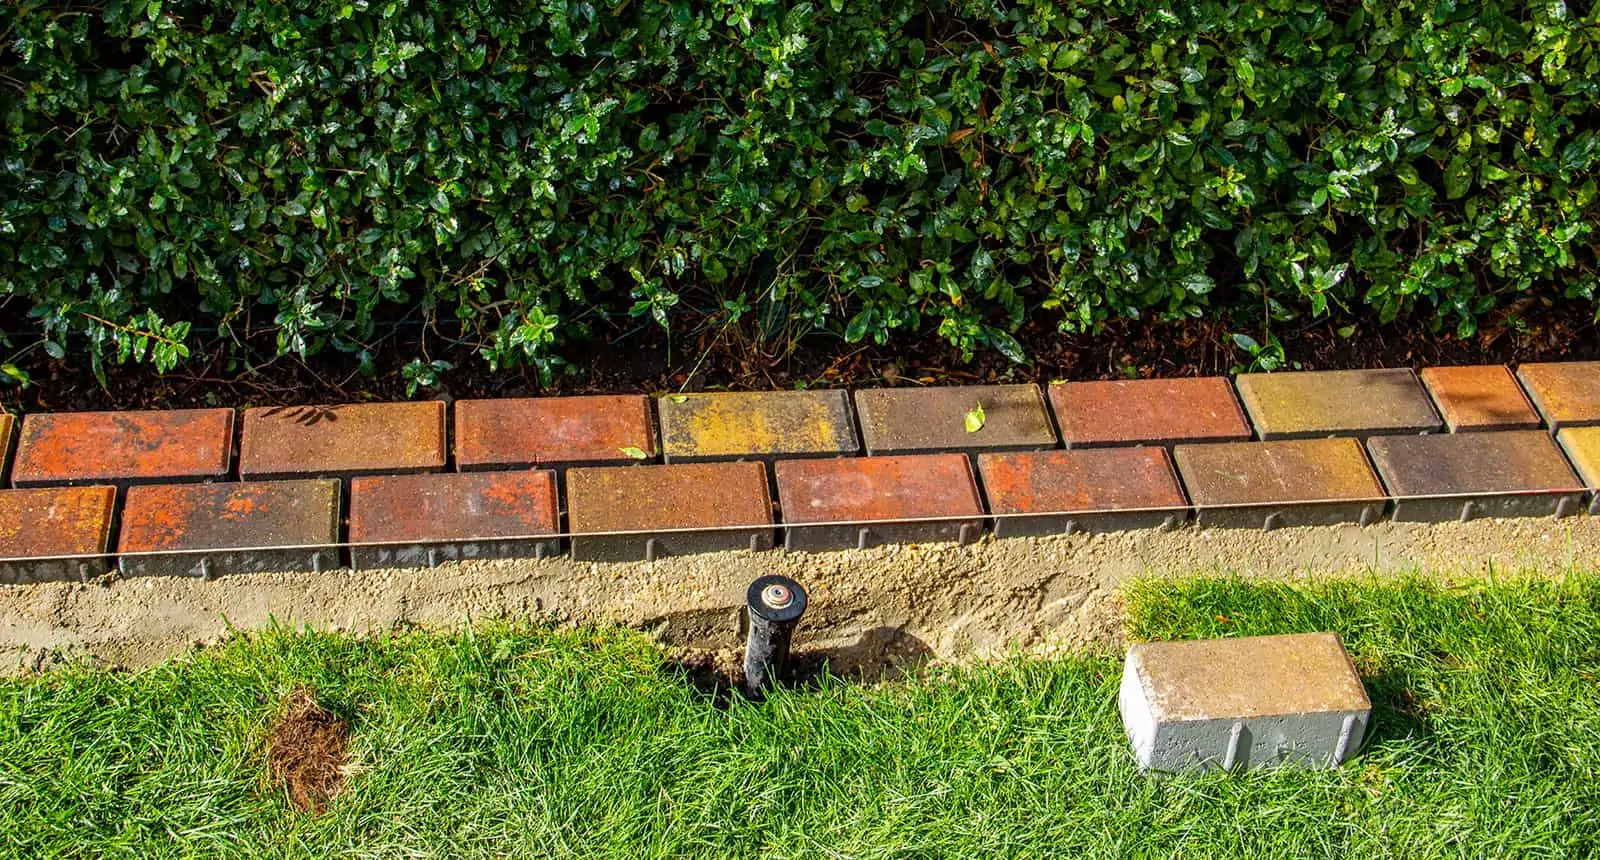
1. Make Landscape Edging With Paving Stones
I had installed a border of different perennial plants that went a little wild because the grass developed into the garden space. It was difficult to pull it out around the bulb as they grow.
That’s when I decided to use some recycled pavers to make the edging. I installed the border. But I then decided I wanted a lovely path, as well. Paving stones make a stable mowing strip.
2. Wattle Landscape Border
I adore the rustic yet neat appearance of wattle edging. Willow is a user-friendly, pliable material. It’s worth noting that you can also utilize pruned raspberry cans to make a wattle border. You may need to replace some of the sticks from time to time but you will enjoy a unique look all the time.
3. Make Landscape Borders From Rocks
This DIY project isn’t as tidy and neat as, say, lined up pavers. However, rocks are a great way to outline a backyard shade or woodland garden. Just keep on top of weeding around your rocks.
4. Pour Some Good Old Concrete
As I already mentioned, concrete makes a permanent, stable, and definitive barrier around a garden. It’s a great way to add a neat and crisp edge. It also serves as a border between lawns and the soil.
However, you will want to keep it low to the ground (no more than 1 inch above grade). You can create curvy or straight lines utilizing hardboard and wooden stakes, so grab your tools and get creative.
5. Garden Edging Made of Clay Flue Liners
Clay fine liners resemble concrete blocks. They provide extra planting space while offering the structure of a garden border. The only problem with clay, if you reside in a northern climate, is the possibility for it to crack from the thaw/freeze of the winter at some point. Other than that, it’s a perfect choice.
6. Plastic Landscape Edging
Plastic isn’t my first choice to line a garden with. I have had a garden full of daylilies that were lined with a piece of plastic edging. It was there when I moved in. Over time, it started looking messy. So, I pulled it out. However, if you’re on a budget or can’t find anything else, you can always use plastic sheets.
7. Steel Landscape Borders
Steel is something that won’t get ruined over time. It’s a strong and durable material that won’t crack or move. This luster will fade into a chic patina over the years. You can easily install these borders with kits available online.
8. Edging a Garden With Bricks
You can utilize bricks for edging a garden in different ways. Just lay them flat or turn them on their ends and dig them into a predetermined height. You could fill the gaps with concrete or fine gravel. Or allow groundcover, like moss to sprout between them and give your whole project a beautiful outlook.
9. Stacking Fieldstone Into a Garden Border
If you have a very old garden patio or path place that you want to dig up, save the fieldstones. Just stack them to make a mowing strip. It’s a budget-friendly, eco-friendly, and creative idea.
10. Get Creative
So what if you don’t have any of the materials I just listed? Don’t give up but get creative and use other household items like pots, containers, cans, or bottles to make a cool mowing strip.
Let’s Mow the Lawn
Hopefully, you now know how to separate your lawn and garden with mowing strips. Regardless of their ornamentation and complexity, they’re essentially paved borders.
Mowing strips save time but they also add an aesthetic appeal that if matched with other paved areas in your landscape, contributes visual balance, harmony, and beauty to your property.
Making mowing strips is relatively affordable and needs common items you can easily find in any garden or home store. The best part? They’re easy to make. You can install them in hours.
That being said, let’s end this article and get to work. If you have any gardening tips or questions, drop a comment below. Also, share this article with other gardening enthusiasts.
The post Separate Your Lawn and Garden With Mowing Strips in 7 Easy Steps 2021 appeared first on Growing Anything.