
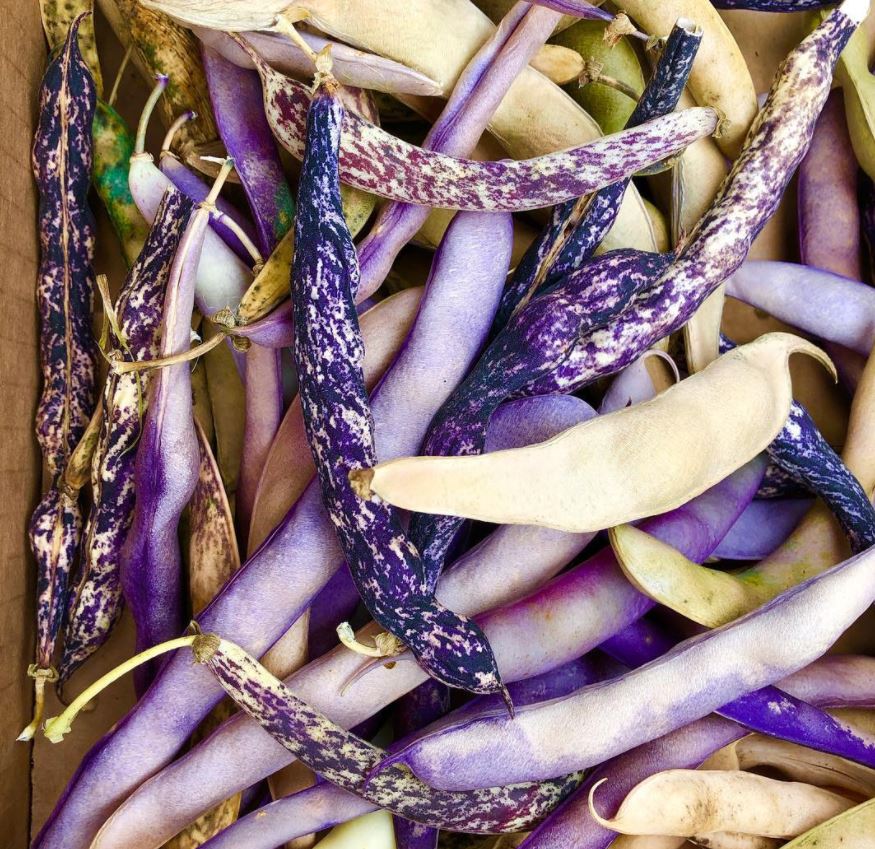
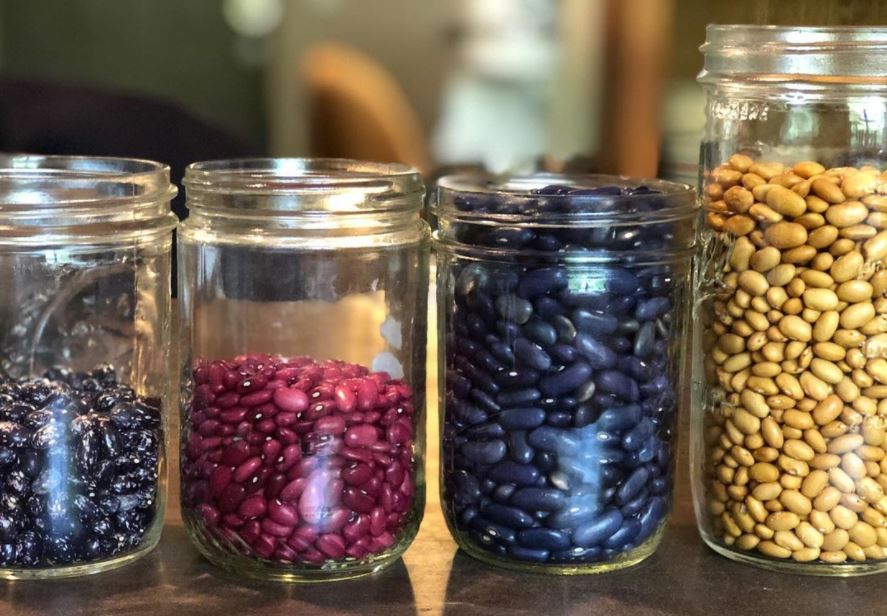
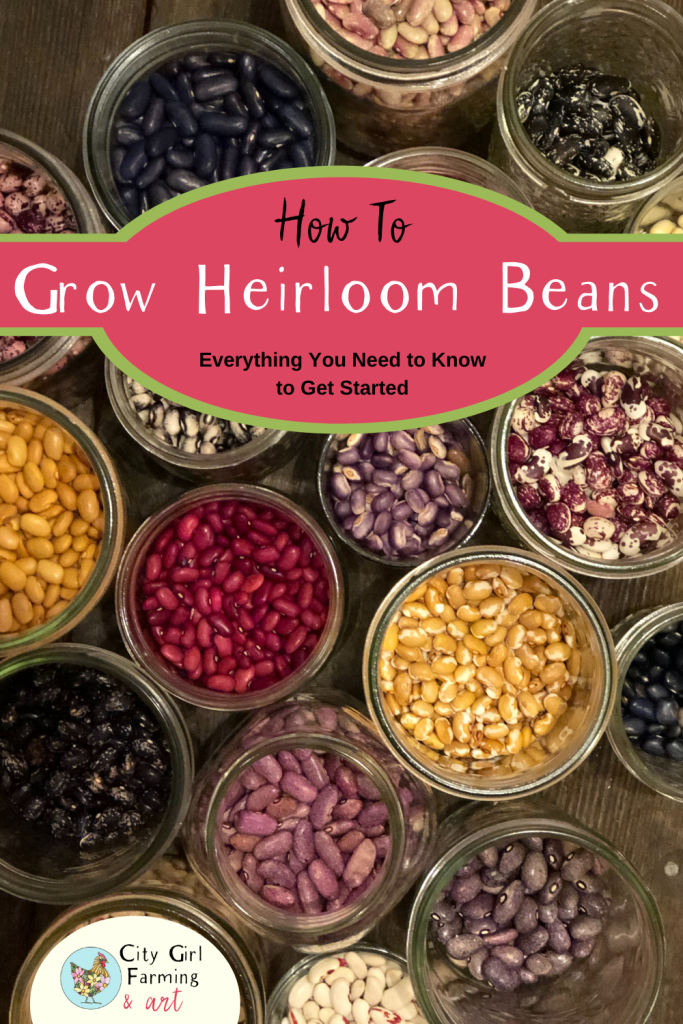
If you’ve been wondering how to grow heirloom beans, you’re not alone! Beautiful, colorful heirloom beans are making a massive comeback. Not only do they come in nearly any color imaginable, but they offer a wider variety of tastes and textures beyond the few varieties we easily find at the store (ie Pinto, Kidney, Black, Garbanzo, Navy, for example).
Luckily, it’s both easy to find bean seeds to grow as well as easy to grow them. Below I’ll give you everything you need to know to get started growing your own heirloom beans.
Where to Get Heirloom Bean Seeds
There are over 250+ kinds of heirloom beans. There are many varieties that are easy to find in your favorite seed catalog. Just order them with your annual seed order. This is a good place to start.
Other heirloom bean seeds are very rare and hard to find. For these beans, it takes a little more work to find. Try joining a Facebook group for rare seeds. Or get to know other homesteaders (and bean nerds) on Instagram. Sometimes they do rare seed sales or swaps and you can get in on some really rare and beautiful beans.
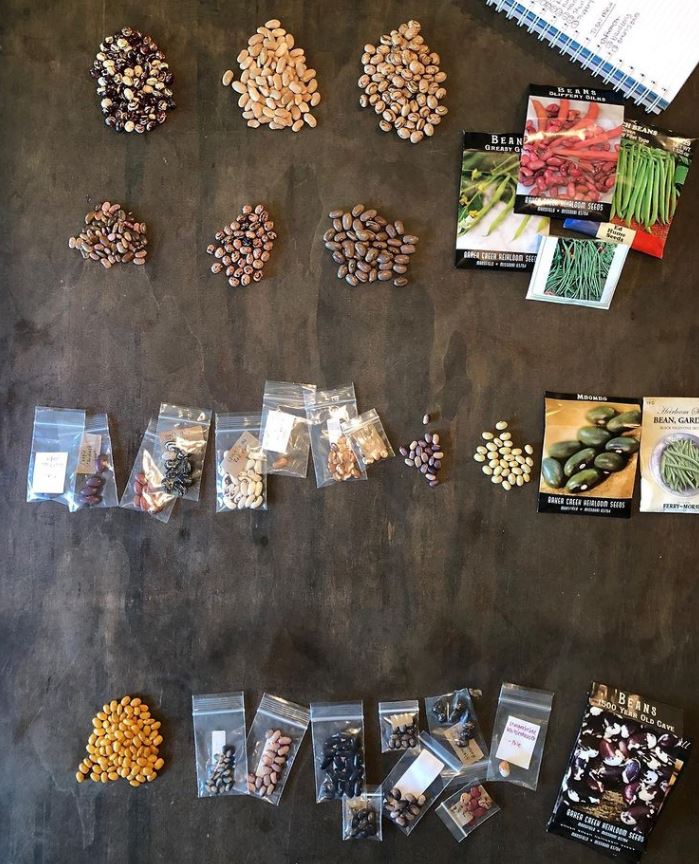
I started by getting a few varieties of bean seeds from a friend. From there, I ordered a bunch of varieties of beans to eat (I wanted to see what these varieties tasted like before I planted them). A great place to try a wide variety of heirloom beans (in one-pound packages) is Rancho Gordo.
That first year, I decided to grow heirloom beans, I was armed with the seeds from a friend, seeds I found in seed catalogs that looked interesting, and seeds I saved out from the bags of beans I got from Rancho Gordo, I was set. (I’ve heard others say they haven’t had very good luck planting their Rancho Gordo seeds, but they worked great for me.)
Where to Plant Beans
Beans love good soil, sunny locations, and regular watering. They also benefit from other plants such as marigolds or much of the brassica veggies (like kale, cabbage, etc) as well as squash.
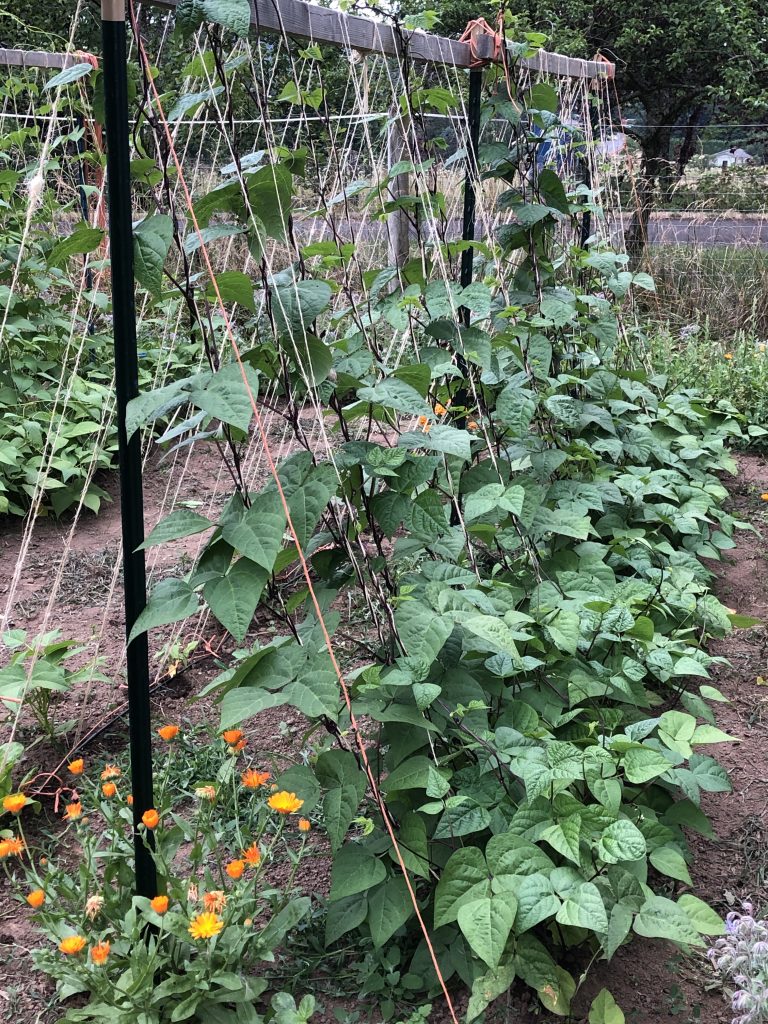
How to Make Bean Trellis Supports
Your beans will be one of two types: Pole beans (which means they need support to grow up on) or Bush beans (they grow lower and bushy and don’t need support). Technically, there’s a third kind of bean: Half Pole. These beans are pole beans but don’t grow as high so you don’t need as tall of a support structure.
There are all sorts of ways you can offer support to your pole and half pole beans. I’ve used pallets (either tipped up on their side and held in place by t-posts or tipped together to form an A-frame), baby crib springs and side rails, long wooden poles positioned in a circle like a teepee, and whatever else I could find and use.
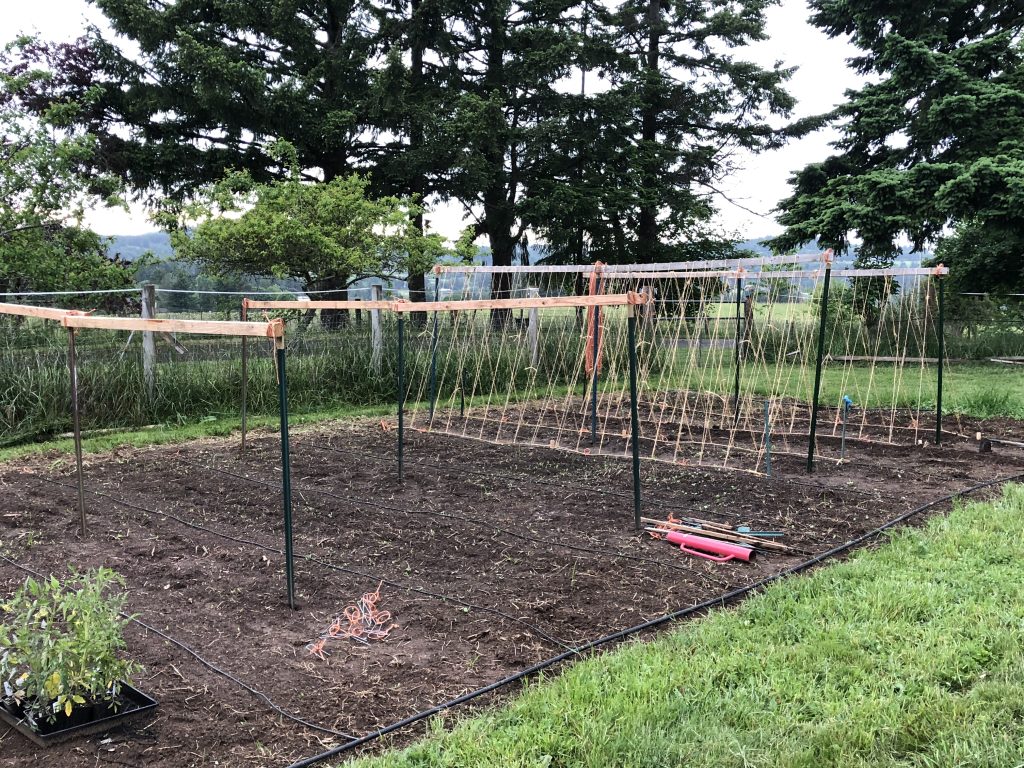
These days, my go-to bean support consists of t-posts (the tallest I can find), 2×3 or 2x4s, short screws, short pieces of 1x2s (or stakes), and twine.
Before setting up a trellis, I make sure the soil is ready for planting, removing all the weeds, preparing the soil and giving it a good watering.
Then I begin putting together my trellis system (this lasts me for several years before I have to replace wood structures) I start by screwing in screws (partway) along the top of the 2×3 about every 2 inches or so (I don’t measure it). I then put two t-posts in the ground, just under 8 feet apart. I tie the 2×4 to the top of each of the t-posts with twine.
From there, I add another post with screws in it, about a foot out from the t-posts on the ground. To keep these in place, I hammer a stake on either side of the 2×4 to keep it upright. I do this on both sides of the t-post.
So, what you’ve got at this point is a horizontal bean stretching from one t-post to the other, and then on the ground, you’ve got beams on both sides of the t-post about a foot out on either side, secured in place by a little wooden stake (or twig or whatever you’ve got).
Then, I take a big ball of twine and I tie it to the first screw on the top beam on one end of the t-post. Next, I run it down and hook it around the first screw on the lower 2×4. Then run it back up to and around the 2nd screw on the top, then down to the second screw on the bottom. Back and forth like this, down the entire beam. Tie it off and do the same thing down the other side.
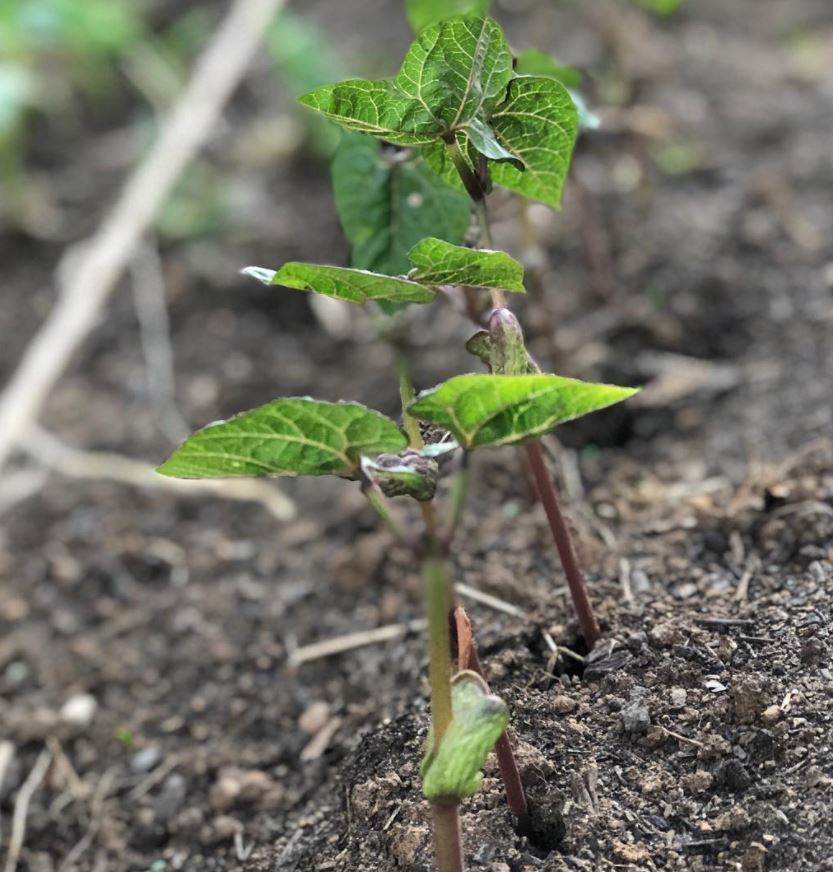
How to Plant Heirloom Beans (Pole Varieties)
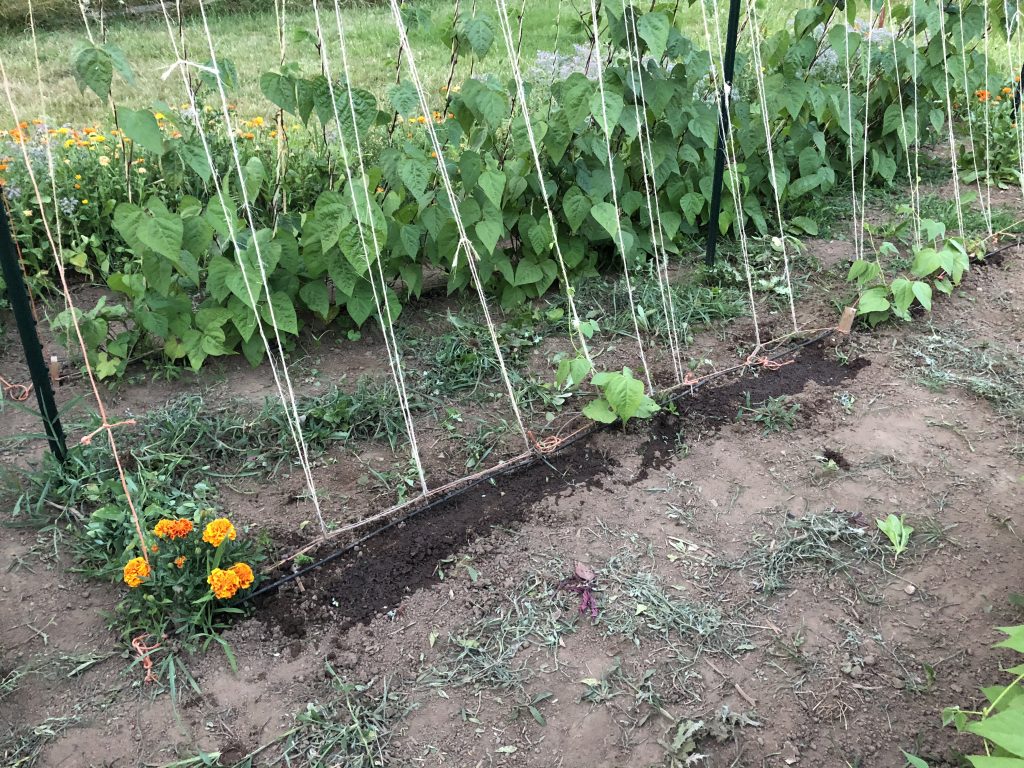
Once I get the trellis’s set up, I’m ready to plant beans. I’ve found for me, that it works best to plant the beans in the inside of the lower 2×4. It’s more protected there and also it’s easier for the beans to find the twine and grow up on their own without my help.
Before planting, I will sometimes soak my beans for a couple of hours (never longer than overnight). This helps kickstart the germination process. I usually only do this if I’m behind in my planting and want to give the beans a headstart. Otherwise, I don’t bother. Beans truly are easy to grow and don’t need extra steps.
I find a stick about the width of my finger and use it to poke holes in the dirt for the seeds. Generally, you’ll want to poke a hole about an inch deep and about 2 inches apart. Sometimes, especially if I’m not sure about how well my seeds will germinate, I will plant them closer together and weed them out later if they all sprout.
Cover them back up with dirt, give them a good drink. And they’re planted!
How to Plant Beans (Bush Varieties)
Bush beans are much easier! They don’t need a trellis which saves a lot of time and effort. They also (generally) have a shorter growing time so you’ll get bush beans sooner than pole beans.
Even with those pluses, however, I don’t plant nearly as many bush beans. One reason for this is that there are more pole varieties. But another big reason for me is that I live in the wet Pacific Northwest and my bush beans don’t do as well as they more easily get moldy or rot before they get a chance to dry out.
Plant bush beans the same way as Pole beans, except they do better if you plant them closer together (so they can use each other as support).
How to Care for Heirloom Beans
Once the beans are in the ground, regular watering and weeding are all that’s needed. As the pole beans start growing up the trellis, occasionally check to make sure they’re growing up the twine. If not, gently wind them onto the twine and they’ll take it from there.
When are Heirloom Beans Ready for Harvest?
Many heirloom bean varieties are good for both fresh and dried eating. In fact, some beans will grow more abundantly if you’re picking them throughout the season to eat fresh. Make sure to do your research, however, as there are some beans that are specifically to use for dried beans only and won’t taste great fresh, and there are some that are for fresh eating only and don’t work well for dried beans (except, of course, you can still save those seeds to plant again next year, even if you don’t save them to eat dried).
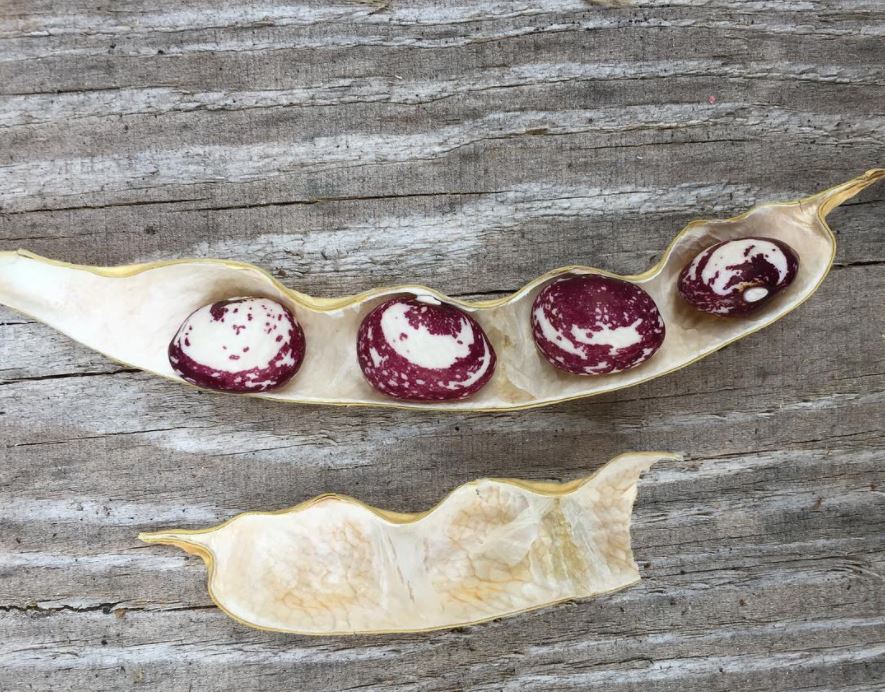
If you’re saving beans to dry, just let them grow and leave them alone. They’ll dry right there on the vine, in their pods, and this is the best way to let it happen. Once you can hear (or feel) the beans inside the pods rattle, you know they’re dry enough to shell.
There might be times when the beans need to be harvested before they’re rattle-dry (a freezing storm is coming, for example). If this is the case, pick as many of the beans that are nearly dry enough as you can. Then pull up the beans by the roots and hang them somewhere (like your garage) to let them completely dry.
Long Term Bean Storage
It’s a good idea to store your freshly shelled dried beans in a non-airtight container for a while to make sure they’re bone dry. You don’t want moisture to ruin your bean harvest! I always wait until after the new year to shell my beans (it’s a good indoor winter activity), then store them for a couple more months in jars and bowls without lids before I put them on the shelf with lids on.
Sometime early on in this process, I also stick them in a plastic bag and throw them in the freezer for a week or two. This will kill any buggie things that might be present. Again, better safe than sorry. (And yes, you can plant, eat, and grow beans that have been frozen.)
Once my beans are ready to be stored on the shelf, I generally put them in mason jars with canning lids and rings for more airtight storage. I also add a dried bay leaf or two to each jar to discourage bugs.
Eating Your Dried Beans
The whole point of going through all this work is to enjoy heirloom bean varieties that you can’t get at the store, right? These beans cook up just like any other dried variety you’d normally cook. There are lots of great recipes out there for beans. Again, Rancho Gordo is a great place to find recipes.
How to Cook Dried Beans
If you’re new to cooking with dried beans, let me give you some basic guidelines:
First, one cup of dried beans roughly equals three cups of cooked beans. One pound of dried beans will roughly make 5 cups of cooked beans. This will help you gauge how many beans to cook for a recipe.
Generally, with dried beans, it’s a good idea to soak them overnight. Simply put the desired amount of beans into a bowl or pot then cover with at least 2 inches of water and let them sit overnight. Drain the water.
Re-add water to the beans and then add salt and any other aromatics you might like to add (onions, garlic, spices). From here, cook them per the instructions below:
Stovetop Cooking
Bring the beans to a boil. Boil for 15 minutes, reduce to simmer. Cover. Cook 90 minutes or until tender. (If your beans are fresh, they might not take 90 minutes, so be sure to check them early).
Slow Cooker Cooking
Cook beans on high for 4-6 hours, or until tender (again, if your beans are fresh, they might cook faster, so check earlier for doneness).
Pressure Cooker or Instant Pot
Cook under high pressure for 20 minutes. Cook on an open stovetop (if needed) for 20 more minutes until tender. Or, cook them under high pressure for 30 minutes without stovetop cooking afterward. (This is how I most often cook my beans–and I never pre-soak them when I pressure cook them, even though it’s advisable).
Is All This Worth the Hassle?
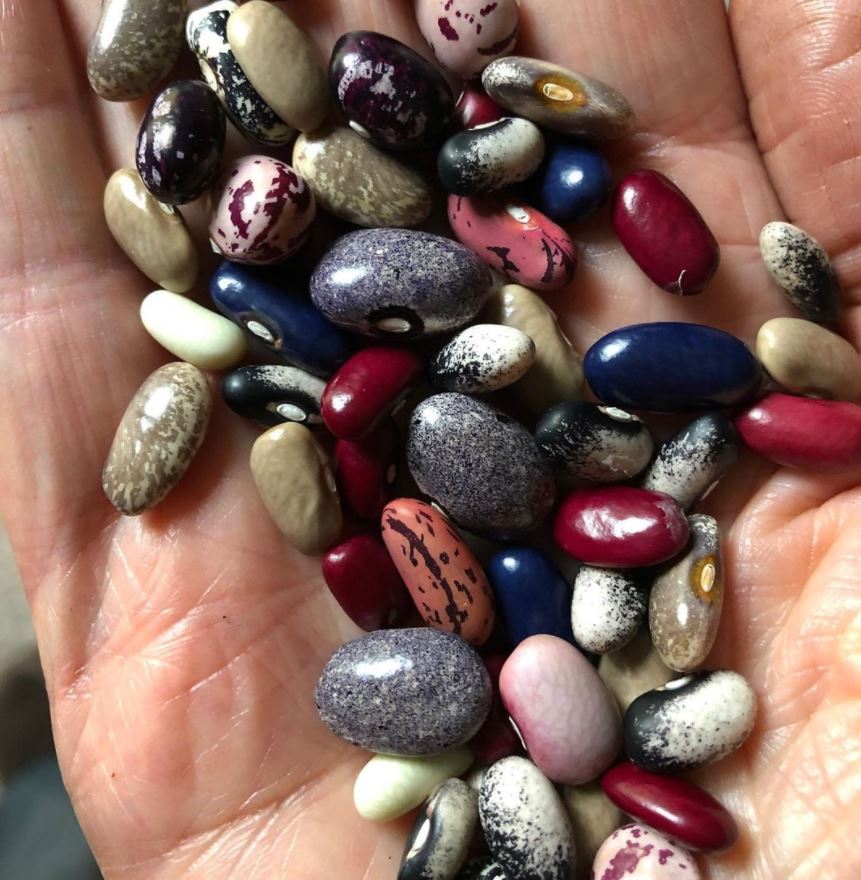
Now that you know how to grow heirloom beans you might wonder if it’s worth the bother? The answer is: YES! First, heirloom beans are beautiful. It’s so fun to open up a bean pod and discover what’s inside. (Like opening a present! For reals!) In fact, my friends ask if they can help me shell beans every year because it’s relaxing and fun.
But even more so, the richness of taste and texture that you get from heirloom beans beats out the store varieties any day! Heirloom beans even make their own ‘broth’ as they cook. It’s generally so rich and flavorful that the beans turn into soup as they cook. How cool is that?
There are places you can get heirloom beans. My local natural grocery store sells a handful of varieties. They’re $16 per pound! That’s another good reason to grow your own.
If they’re more beautiful and tastier, why are they so hard to find? Heirloom beans are a bit harder to grow and their yields are less than other kinds of beans, so they don’t make a great business venture for big companies trying to tell millions of pounds of beans (Small companies like Rancho Gordo sell heirloom beans, but in much smaller batches and they sell out every year!)
And now that you know how to grow heirloom beans, why not? You can save seed back every year to replant the next year and your beans will keep on giving to you year after year, for virtually free. That’s a whole lot better than $16 per pound now, isn’t it!?!!
Besides, once you start growing your own beans, you’re destined to become a bean nerd like me. It’s hard to resist the lovely never-seen-by-your-eyes beautiful colors, shapes, and sizes. So just give in. Come to the other side. There’s a lot more variety over here!
Here are some other helps you might enjoy:
How to make your own ‘refried’ beans from scratch.
An Heirloom bean tea towel–I designed this one myself, recreating the beans on the towel that I grew in my garden. Bonus: It contains all the cooking instructions you need to cook heirloom beans.
Rancho Gordo’s Recipe Index for awesome bean dishes
The post How to Grow Heirloom Beans appeared first on CITY GIRL FARMING | Sustainable Living for Regular People.